September 15, 2026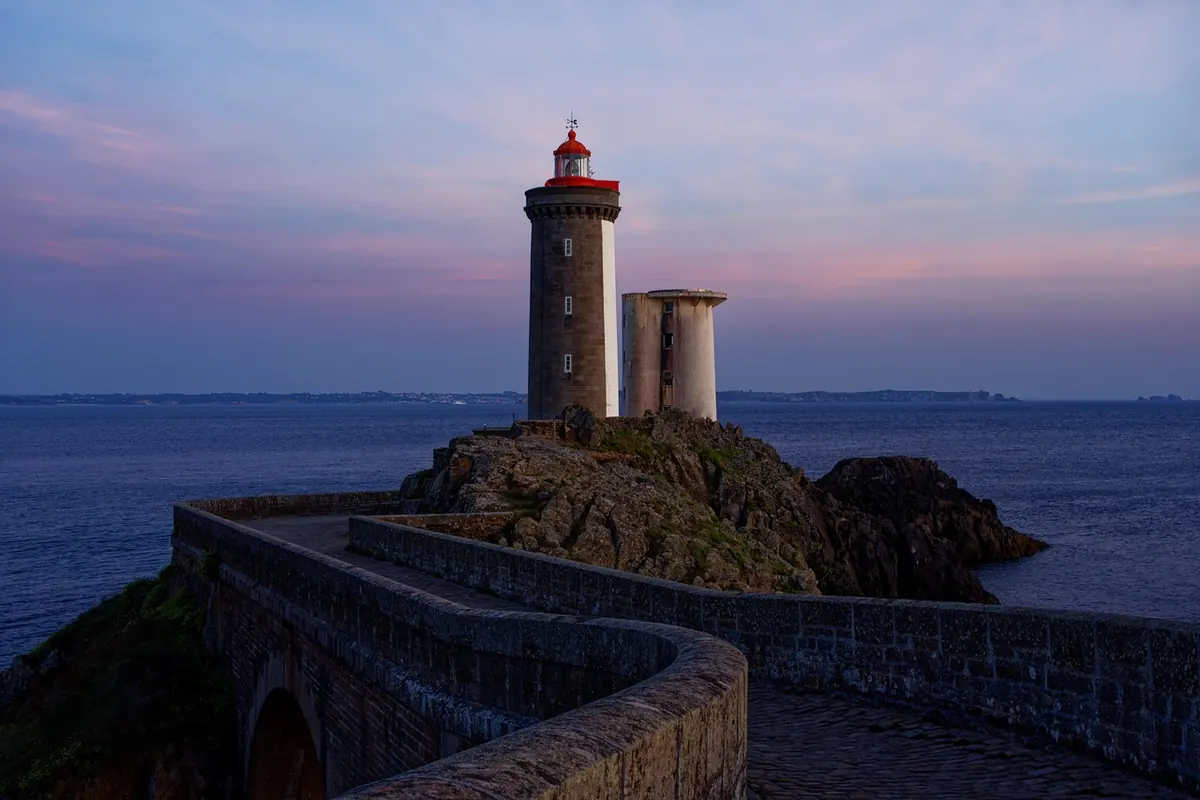
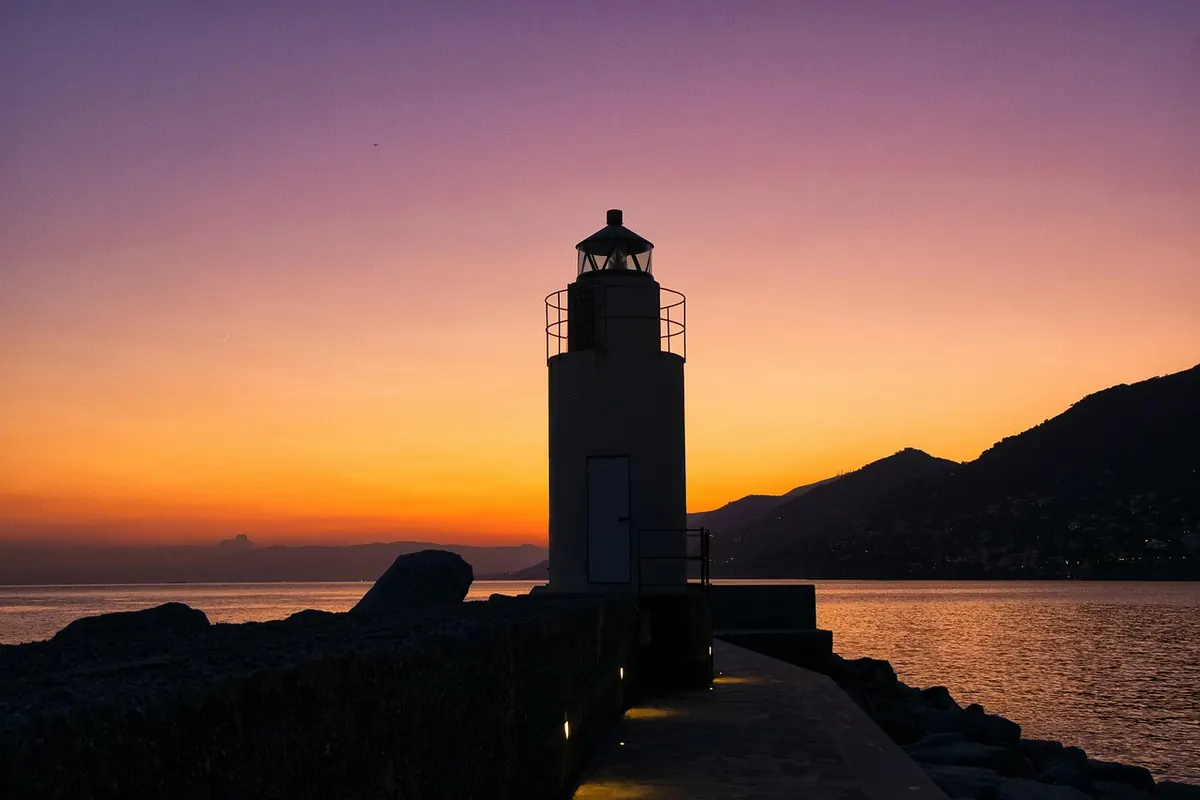
There is a short window when a lighthouse stops being a white tower and becomes a silhouette with a heartbeat. The sky still holds colour, the sea has gone the grey of wet slate, and the lamp — freshly lit — is bright enough to matter without burning a hole in the frame. Miss that window and you are left with a flat afternoon or a black rectangle with one hot dot in it. Here is how to be ready for it, from planning the evening to the last frame before dark.
Why blue hour suits lighthouses
Blue hour is not really an hour, and it is not only blue. It runs from the tail of sunset through to full dark, and how long you get depends on where and when you are. On the north Cornish coast in June you can have well over an hour of usable light; on the same stretch in December you might get twelve minutes. The point is that the sky is still luminous while the lamp reads as a distinct point of light against it.
That balance is the whole attraction. Photograph a lighthouse at midday and it is a lump of masonry in hard contrast. Photograph it in deep night and you have a beam and nothing else. In twilight you get the tower, the rock it stands on, the water moving around it, and the warm glow of the lamp against a cool sky — two colour temperatures in one frame, doing different jobs.
Get the timing right
Look up sunset time for your location, then work backwards. You want to be standing in position with the tripod set and focus already sorted before the light starts falling away. That usually means arriving about forty-five minutes before sunset.
Plan the angles at home
Use a sun-tracking app or a mapping tool to see where the sun will set relative to the tower. If you want the lamp against the afterglow, you need to know which side of the lighthouse to stand on. Check tide tables too: plenty of good compositions sit on rocks, slipways and causeways that are only walkable at low water, and the sea will not wait for you to finish bracketing.
Learn the lamp's character
Lighthouses do not all flash the same way. Some give a single flash every few seconds, some show a longer period of light, some are occulting, and a few are effectively steady. Watch for three or four cycles and note the rhythm. Knowing when the flash comes round lets you time a shutter release rather than guess at it.
Camera settings that work
Manual mode, RAW files, and a tripod. Turn image stabilisation off once the camera is mounted — it can hunt when there is no movement to correct. Focus manually using live view, magnified on the tower, then tape or lock the focus ring so nothing drifts as the light fades.
A starting point for the first frame, roughly ten minutes after sunset:
- Mode: Manual
- ISO: 100
- Aperture: f/8, or f/11 for corner-to-corner sharpness on a wide lens
- Shutter: begin around 1/30 sec and lengthen as the sky darkens
- White balance: Daylight, or roughly 4000–5000K. Shoot RAW and adjust later
- Release: two-second timer or a cable release
Expose for the sky and let the lamp do what it likes. Check the histogram — you want the blue in the brightest part of the sky to sit close to, but not on, the right-hand edge. If the sky is clipping, shorten the shutter by a third of a stop and reassess. Bracketing three frames a stop or two apart is cheap insurance, and gives you a sky frame and a lamp frame to blend later if you want both at their best.
Compose with the light, not against it
Find something in the foreground that belongs there. Wet sand, a rockpool, marram grass, a rusted rail, the wet curve of a slipway. Wet stone and standing water pick up the sky's colour and give you a second, softer version of the tower below the real one. Breakwaters, paths and walls make natural leading lines towards the base.
Place the tower off-centre — a third in from one edge usually feels more settled than dead centre. Watch the horizon: keep it level, and decide whether it sits low to favour a dramatic sky or high to favour a textured foreground. Then check the edges of the frame. Nothing is more irritating than discovering later that a stray rock has sliced through the base of the tower, or that a crop has clipped the lantern room.
When the lamp switches on
The moment the light comes on, your shutter speed choices change what you capture. A fast flash recorded at 1/8 sec is a small, crisp point of light. The same flash recorded over twenty or thirty seconds becomes a soft streak as the lens turns — or several dots if the beam sweeps past your position more than once. Neither is wrong; they are simply different pictures.
If you want the lamp at its most defined and the sky at its most colourful, shoot both separately from the same spot: the sky frame first, while the colour is there, then wait for the lamp to come into its own and take a second exposure for it. Blending them gently keeps the scene believable, provided you have not moved the tripod between frames.
Working the coast safely
Twilight on a rocky shore is slippery and the tide does not announce itself. Check tide times and the direction of flow before you set up, and remember that a dry perch at eight o'clock can be an island by nine. Tell someone where you are going and when you expect to be back. Take a head torch, use its red setting so you do not wreck your night vision or blind anyone else, and keep to marked paths.
Many lighthouses are working stations on private land. Photograph them from public footpaths, beaches and designated viewpoints rather than climbing fences or crossing operational areas. No frame is worth a soaking, a trespass or a cliff edge.
Your next blue hour
Arrive early, set up while there is still light, get focus sorted, then work slowly through a small plan: one wide frame with plenty of sky, one closer view with a strong foreground, one bracket set for the lamp, and a vertical for variety. Edit gently afterwards — correct the white balance to taste, lift the shadows a little, and resist pushing the blue until the sea looks like ink. Note down your settings and the time you shot, because blue hour moves faster than you expect and the best frames usually come on the second or third visit, once you know the place.
Photo: fab_photos / Pixabay